Help Center

User
Guide

A step-by-step guide to using the test kits correctly — multi-panel tests, single tests, and interpreting your results.

Using Multi-Parameter Cassettes

Step-by-step application of cassette-type test kits containing multiple parameters, such as the classic 6-panel, 12-panel, or custom panels.
Sample preparation step
Step 1
Prepare the Sample
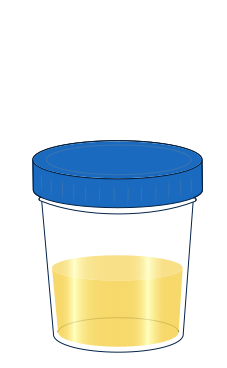
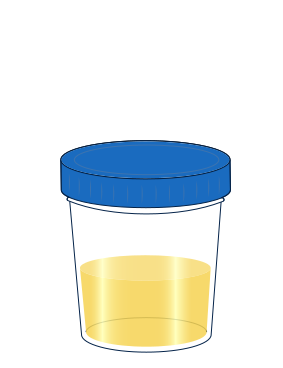
Collect the urine sample in the sample cup. Make sure the sample is not mixed with other substances and that there is a sufficient amount.
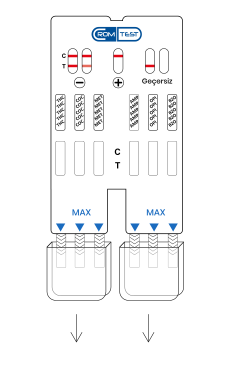
Removing the cap step
Step 2
Remove the Caps
Take the test cassette out of its packaging and remove the caps on the bottom.
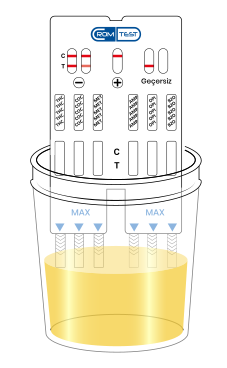
Testing step
Step 3
Testing Stage
Dip the test cassette into the urine sample in the direction of the arrow (up to the MAX line) and wait 20 seconds.
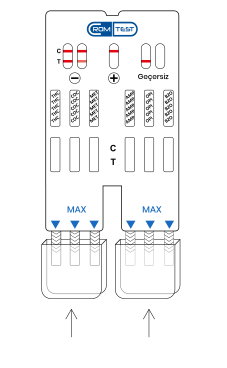
Waiting step
Step 4
Wait
Close the cap of the test cassette, place it on a dry, flat surface, and wait 5 minutes.
5 min
Step 5
Read the Result
Evaluate the results starting from the 5th minute.
⚠ Do not evaluate the results after 10 minutes have passed.
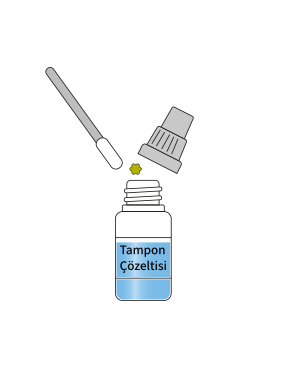
Sample preparation step
Step 1
Prepare the Sample
Take about 20–70 mg (roughly the size of a grain of rice) of the substance in powder, liquid, or plant form and add it to the buffer solution.
Mixing step
Step 2
Mix
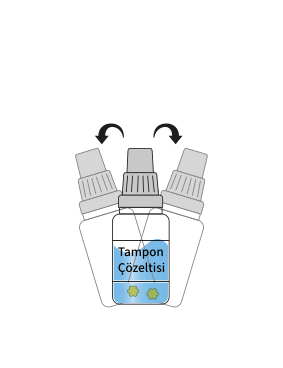
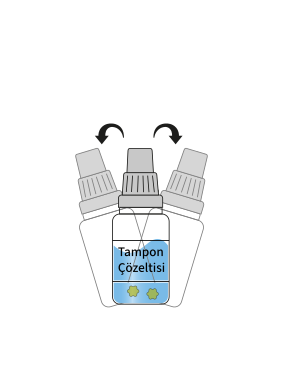
Close the cap tightly and shake briefly.
Waiting step
Step 3
Wait
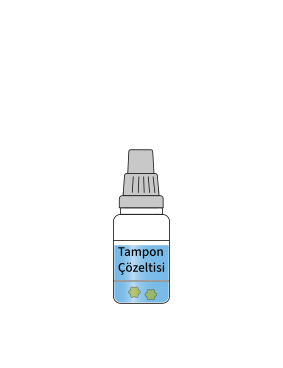
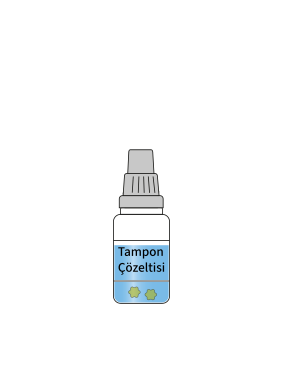
Wait 30 seconds.
Testing step with dropper
Step 4
Testing Stage
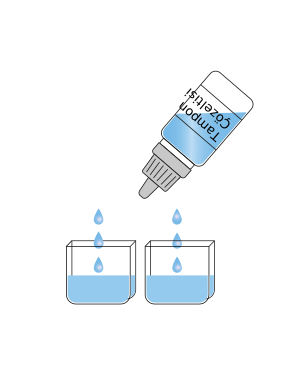
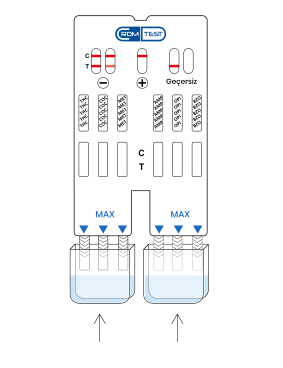
Open the dropper cap by twisting it. Add 10–15 drops of the buffer solution onto the caps of the test kit.
Placing the cassette step
Step 5
Testing Stage
Carefully place the test kit into the caps containing the solution.
5 min
Step 6
Read the Result
Evaluate the results starting from the 5th minute.
⚠ Do not evaluate the results after 10 minutes have passed.
Using a Single Test

Application of strip-type test kits containing a single parameter. Applies to single-substance screening strips such as amphetamine, THC, and cocaine.

Sample preparation step
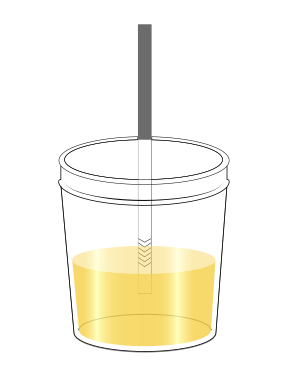
Step 1
Prepare the Sample
Collect the urine sample in the sample cup. Make sure the sample is not mixed with other substances and that there is a sufficient amount.
Testing step
Step 2
Testing Stage
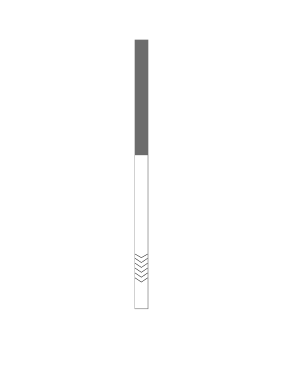
Take the test strip out of its packaging, dip it into the urine sample (up to the MAX line), and wait 20 seconds.
Placing on a flat surface step
Step 3
Place on a Flat Surface
Place the test strip on a dry, flat surface and wait 5 minutes.
5 min
Step 4
Read the Result
Read the results starting from the 5th minute.
⚠ Do not evaluate the results after 10 minutes have passed.
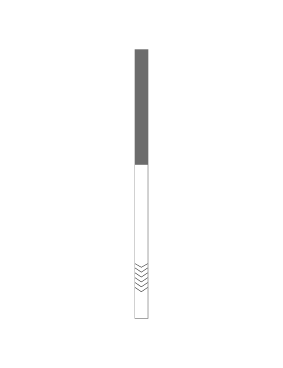
Sample preparation step
Step 1
Prepare the Sample
Take about 20–70 mg (roughly the size of a grain of rice) of the substance in powder, liquid, or plant form and add it to the buffer solution.
Mixing step
Step 2
Mix
Close the cap tightly and shake briefly.
Waiting step
Step 3
Wait
Wait 30 seconds.
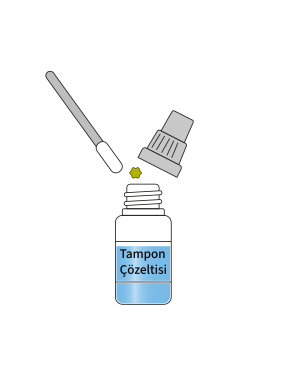
Testing step with dropper
Step 4
Testing Stage
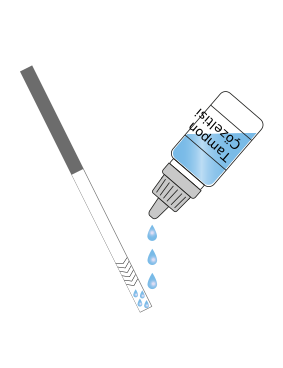
Open the dropper cap by twisting it. Add 5–10 drops of the buffer solution to the bottom of the test strip.
Placing on a flat surface step
Step 5
Place on a Flat Surface
Place the test strip on a dry, flat surface and wait 5 minutes.
5 min
Step 6
Read the Result
Read the results starting from the 5th minute.
⚠ Do not evaluate the results after 10 minutes have passed.
How to Interpret Your Results

Three different result types are evaluated based on the presence and position of the lines. Read each parameter independently.

Negative
Negative result — multi-panel
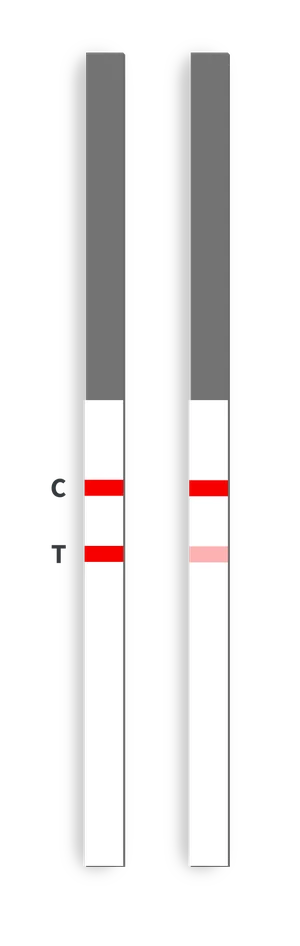
Two Lines — Negative
Two lines appear. One colored line should be in the control line region (C), and the other in the test line region (T).
The color intensity in the test line region (T) may vary, but even a faint colored line means the result should be evaluated as negative.
Positive
Positive result — multi-panel
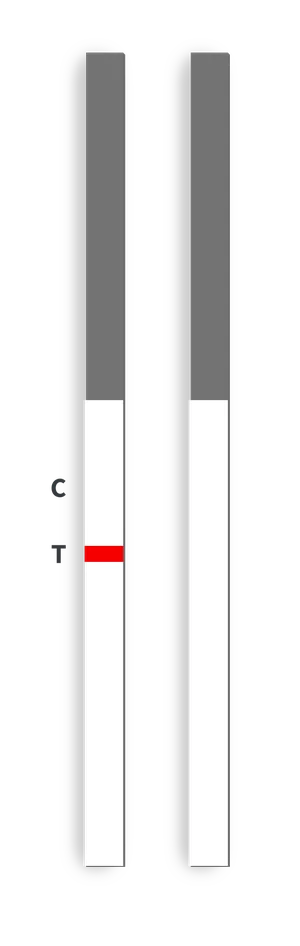
One Line — Positive
A colored line appears in the control line region (C). No line appears in the test line region (T).
Invalid
Invalid result — multi-panel
No Line — Invalid
No line appears in the C (Control) region.
Possible causes: insufficient sample volume or an incorrect test procedure. Review the test procedure and repeat the test using a new test strip.
Negative
Negative result — single test
Two Lines — Negative
Two lines appear. One colored line should be in the control line region (C), and the other in the test line region (T).
The color intensity in the test line region (T) may vary, but even a faint colored line means the result should be evaluated as negative.
Positive
Positive result — single test
One Line — Positive
A colored line appears in the control line region (C). No line appears in the test line region (T).
Invalid
Invalid result — single test
No Line — Invalid
No line appears in the C (Control) region.
Possible causes: insufficient sample volume or an incorrect test procedure. Review the test procedure and repeat the test using a new test strip.
What Is the Threshold (Cut-off) Value?
The threshold value (cut-off) refers to the minimum concentration of a substance required for it to be detected in the sample, and it is measured in ng/mL (nanograms per milliliter). If the concentration is below the threshold, the test result is negative; if it is above, the result is positive. The threshold value differs for each parameter — you can find the relevant values on the product pages.
Important Reminder CROM TEST drug-screening kits are a clinical preliminary screening tool. Positive results must be confirmed under the supervision of a healthcare professional using chromatographic laboratory methods such as GC-MS or LC-MS/MS. Do not use the results alone for a definitive diagnosis.

Have more questions?

Our technical team is ready to help you with anything.

Contact Us